
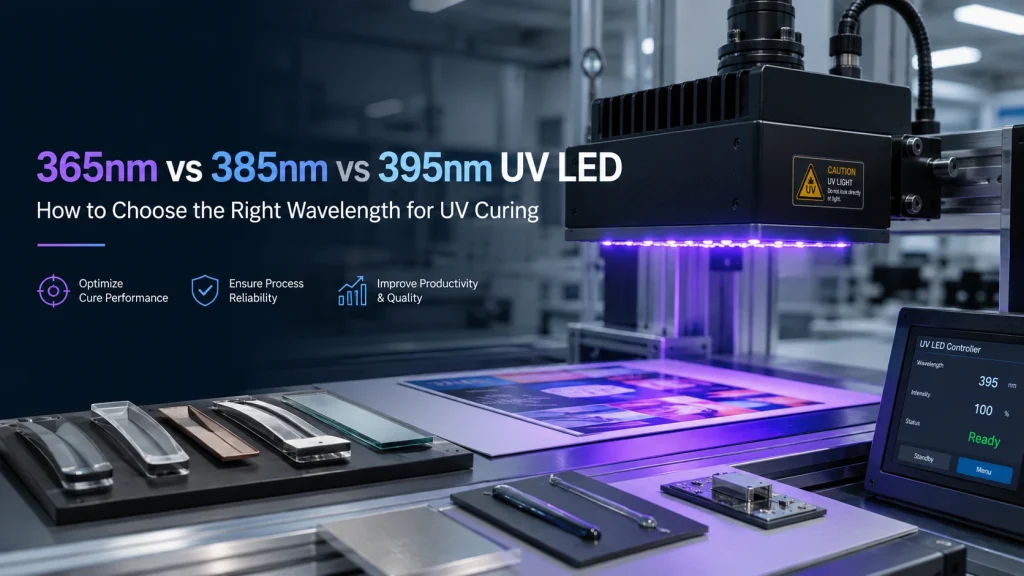
Choosing the UV LED wavelength—whether it is 365nm, 385nm or 395nm—comes down to the needs of the material and the conditions of the application. There is no wavelength that is inherently better than the others. In UV curing setups getting the wavelength right means matching it exactly to the photoinitiator chemistry and the coating formulation being used.
At the time the system must provide enough irradiance and deliver the proper optical energy dose based on how fast the production line runs and how far the light is from the target surface. These factors affect results in areas such as UV adhesive bonding, ink curing, specialty coatings, resin work, industrial printing and integrating curing systems into OEM equipment. Many problems in production that people blame on lamp intensity are actually caused by a mismatch between the light spectrum and the material. Other common causes include much distance between the lamp and the surface uneven light output, across the area being cured or not giving the material enough time to cure. That’s why the best way to pick a UV LED light is to know all the material specifications and manufacturing details. Doing this upfront leads to the dependable and successful outcome.
365nm vs 385nm vs 395nm UV LED: Quick Selection Guide
There is no single “best wavelength for UV curing.” A 365nm, 385nm, or 395nm source should first be evaluated against the material supplier’s recommended cure spectrum and the photoinitiator response.
| Selection Factor | 365nm | 385nm | 395nm |
| Material compatibility | Verify photoinitiator absorption | Verify photoinitiator absorption | Verify photoinitiator absorption |
| Selection logic | Evaluate when the formulation responds well to shorter UVA | Evaluate when the formulation/process supports this spectral range | Evaluate when the formulation/process supports this spectral range |
| Key process variables | Dose, thickness, distance, temperature | Dose, thickness, distance, speed | Dose, thickness, distance, speed |
| Before purchasing | Check material data and test conditions | Check material data and test conditions | Check material data and test conditions |
Start With the Material and Photoinitiator, Not the Lamp
The first question should be: what wavelength does the material actually respond to?
Ultraviolet curable inks, resins, adhesives, and coatings incorporate photoinitiators that absorb energy across specific UV spectral bands. When the absorption range of these compounds fails to align with the LED’s output spectrum, elevating the input power seldom fixes the underlying curing flaw.
Before specifying a UV curing module, record the material model, recommended wavelength, coating or bond line thickness, pigment or opacity, target curing result, and production conditions. This is especially important when changing formulations or replacing an existing lamp.
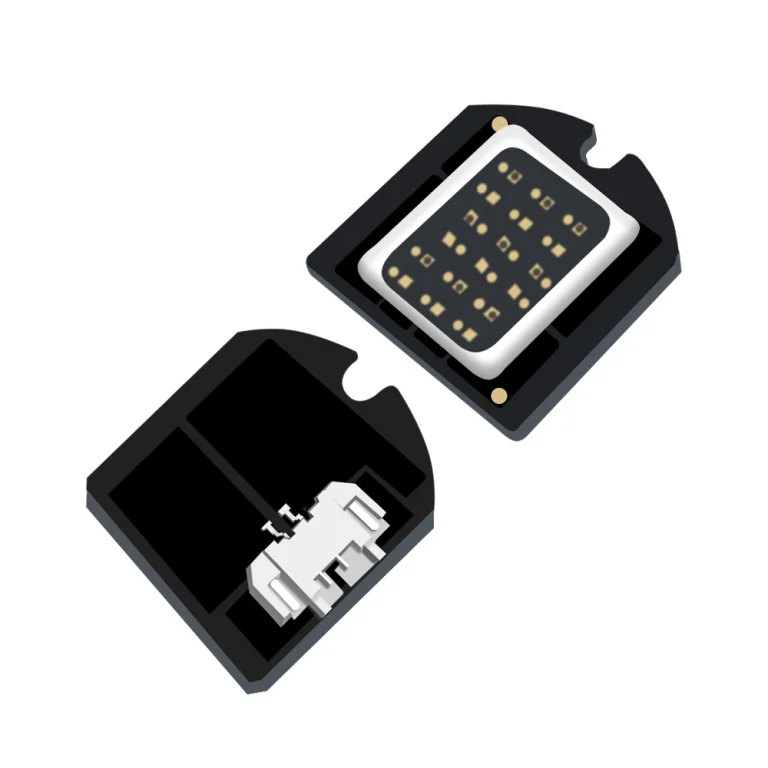
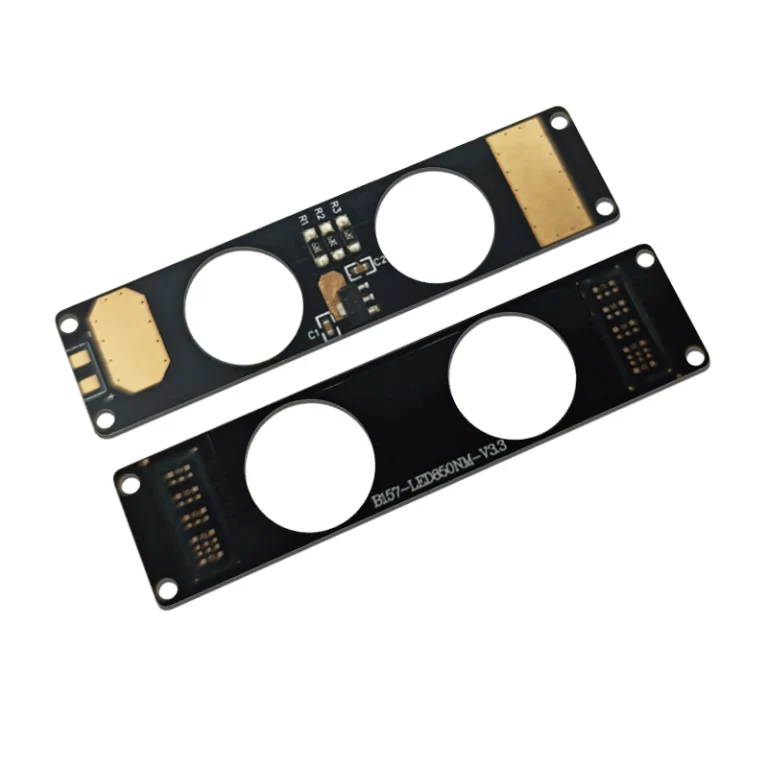
For OEM projects requiring different UVA configurations, IHYLIGHT’s IR & UV COB LED solutions provide a relevant commercial starting point, but the final wavelength should still be selected against the actual material and curing process.
How Photoinitiator Absorption Determines UV Curing Wavelength
UV LED curing systems have a relatively concentrated spectral output compared with broad spectrum UV LED. That makes photoinitiator compatibility particularly important.
Match the LED Emission Band to the Material’s Absorption Range
Matching a UV LED’s emission range against the photoinitiator specifications or curing guidelines provided by your material supplier is essential when choosing a wavelength. While verifying the nominal peak wavelength matters, reviewing the full technical datasheet alongside the allowable spectral tolerance proves equally critical.
This approach is useful for new curing equipment, material qualification, replacement projects, and process troubleshooting. It also helps prevent a common sourcing mistake: buying a high power UV LED first and trying to make the material fit the lamp later.
Where possible, prototype testing should use the actual ink, adhesive, coating, or resin rather than a substitute. The relevant result is whether the production material reaches the required cure condition under realistic exposure and geometry.
What Happens When Wavelength and Chemistry Do Not Match
Symptoms like sluggish curing times, surface tackiness, incomplete polymerization, variable hardness, or weak adhesion often signal a wavelength mismatch. Experiencing these issues does not necessarily indicate that the UV LED lacks adequate power.
A useful diagnosis starts by comparing the material’s recommended cure spectrum with the installed light source. If those are compatible, the next variables to check are irradiance, exposure time, working distance, film thickness, uniformity, and process conditions.
Increasing drive power before identifying the cause can create a second problem: additional thermal load on the module or workpiece without solving the underlying photochemical mismatch.
365nm vs 385nm vs 395nm: What Changes in a Real Curing Process?
The three wavelengths should be treated as process options rather than a simple ranking from stronger to weaker.
When 365nm Should Be Evaluated
A 365nm UV LED should be considered when the formulation or photoinitiator data indicates suitable response in that wavelength region. It may also be relevant to an existing process already qualified around 365nm.
Engineers should still confirm irradiance at the work surface, optical geometry, material thickness, working distance, and required exposure. A shorter wavelength alone does not prove that the cure will be faster, deeper, or more complete.
For replacement projects, changing away from 365nm should trigger a material and process review rather than a direct watt for watt substitution.
When 385nm or 395nm Should Be Evaluated
385nm and 395nm are common wavelength options in industrial UV LED curing, including printing, coating, and adhesive applications. Their suitability depends on the formulation and production window.
385nm should not be selected simply because it sits numerically between 365nm and 395nm. Likewise, 395nm should not be chosen only because it is widely used in certain industrial curing systems.
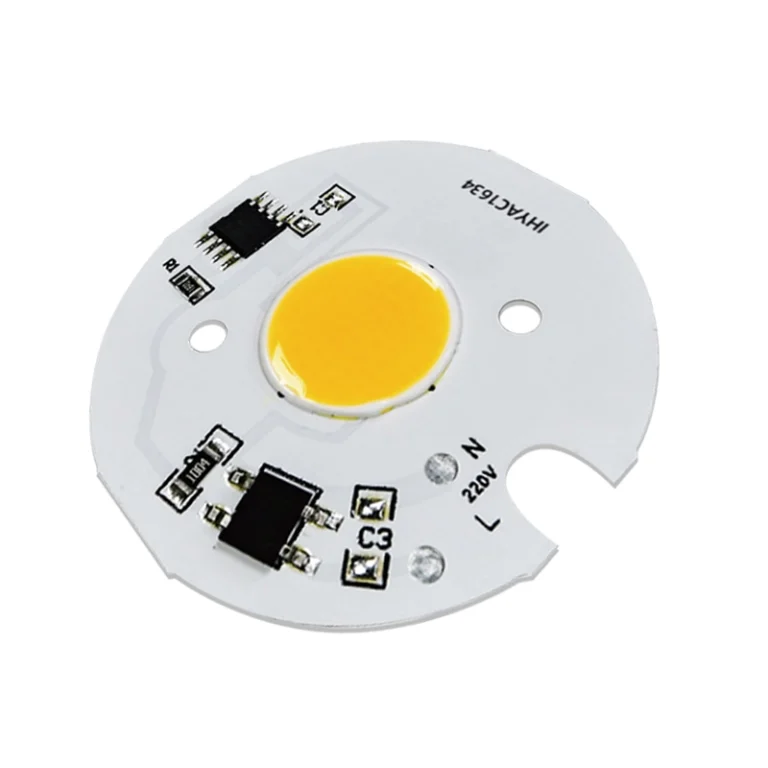
Instead, compare the photoinitiator response, required irradiance, curing width, exposure time, line speed, and acceptable thermal conditions. IHYLIGHT lists a 365nm, 385nm, and 395nm UV COB LED product option that can serve as a reference when an OEM needs to evaluate several wavelength configurations within a UV LED light architecture.
Choosing UV Wavelength for Adhesives, Inks, Coatings, and Resins
Application labels such as “adhesive curing” or “ink curing” are useful starting points, but they are not complete specifications. Different formulations within the same application category may respond differently.
UV Adhesive Curing: What to Confirm Before Selecting the Wavelength
For adhesive bonding, the purchasing team should provide the exact adhesive or chemistry, recommended wavelength, bond line thickness, substrate materials, and any transparency limitations.
The substrate can be particularly important. If one layer blocks or absorbs the selected wavelength, the bond line may receive less useful UV energy than expected. This can lead to incomplete curing even when the exposed surface receives adequate irradiance.
Prototype testing should reproduce the actual substrate stack, adhesive thickness, working distance, and exposure time. A result obtained with a thin transparent sample may not transfer directly to the production assembly.
UV Ink and Coating Curing: Match Wavelength to Chemistry and Production Speed
Printing and coating processes add another variable: line speed. A formulation may cure satisfactorily during a long laboratory exposure but underperform on a production line where dwell time is much shorter.
Pigment, opacity, coating thickness, curing width, irradiance uniformity, and optical geometry should therefore be considered together. The UV source must deliver the required process condition across the full working area, not just at one high intensity point.
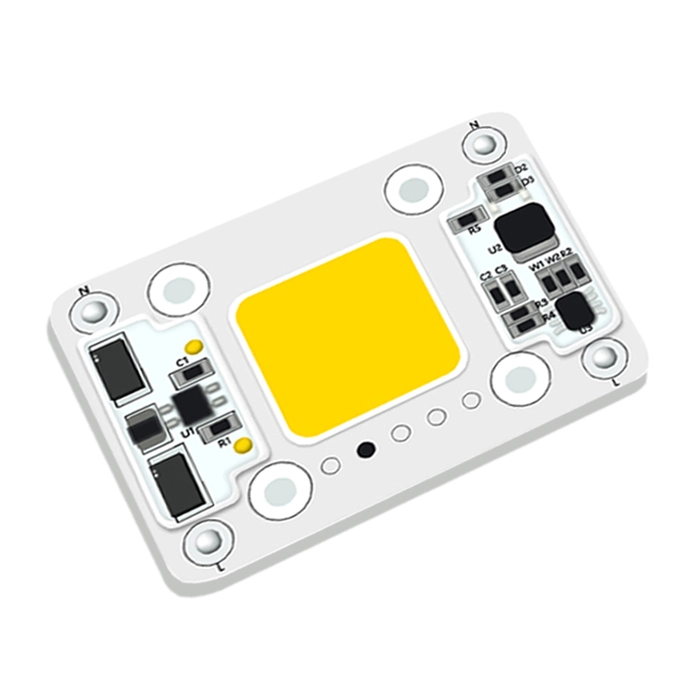
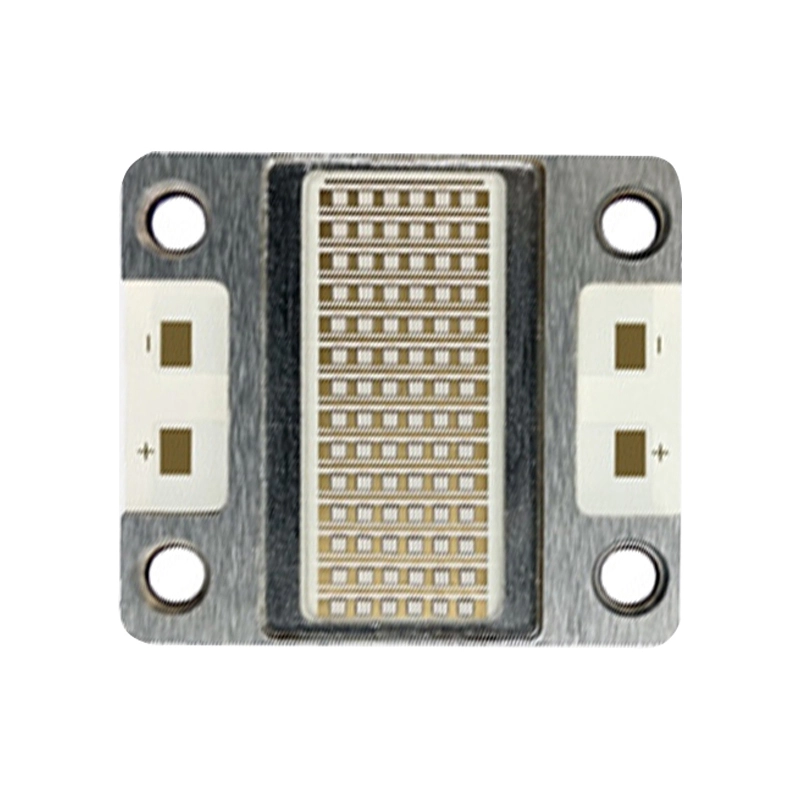
For equipment designs focused specifically on industrial curing, a UV COB LED for curing equipment can be evaluated against the required wavelength, working distance, curing area, electrical conditions, and cooling constraints rather than by nominal wattage alone.
Irradiance, UV Dose, Working Distance, and Line Speed
UV LED wavelength is only one part of the curing process. Two systems operating at the same nominal wavelength can produce very different results at the workpiece.
Why UV LED Wattage Alone Cannot Predict Cure Performance
Electrical wattage is not the same as UV irradiance at the material surface. The amount of light that actually hits the material depends on factors. The optical output matters. The area that the light comes from matters. The shape of the beam matters. Losses in the system matter. The distance, between the source and the target also matters. All of these things affect how much UV reaches the material.
When comparing UV curing modules, buyers should ask for the conditions associated with the optical specification, including measurement distance and illuminated area where available.
This is particularly important in wide curing areas. A source that produces high peak intensity in the center but weak edges may create inconsistent cure across a coating or printed surface.
How Exposure Time, Working Distance, and Line Speed Change the Cure
Dose is affected by both irradiance and exposure time. Moving the light source farther away, increasing conveyor speed, or reducing dwell time can reduce the energy delivered to the material.
This explains why a process that works during bench testing may fail after integration into production equipment.
Prototype validation should therefore replicate the expected working distance, line speed, curing width, and material thickness as closely as practical. If any of these conditions change during equipment design, the curing result should be rechecked.
Why UV Adhesive or Coating Is Still Tacky After Curing
A tacky or incompletely cured surface is a troubleshooting signal, not proof that a higher power UV module is required.
Diagnose Wavelength Mismatch Before Increasing UV Power
First verify whether the material is intended to cure at the installed wavelength. If the chemistry has poor absorption around the LED emission band, additional power may provide limited improvement.
Next, review exposure and material conditions. The problem may come from insufficient dose, excessive distance, a short process window, or the way the material is applied.
Increasing output before diagnosing these variables can increase substrate temperature or place additional thermal demand on the light source without addressing the original failure.
Check Dose, Distance, Uniformity, and Process Conditions
If wavelength compatibility appears correct, inspect irradiance uniformity, exposure time, line speed, working distance, coating thickness, and surface condition.
For replacement equipment, buyers should share the existing curing geometry and failure symptoms with the supplier. Photos of uneven cure, tacky areas, or the original light-source arrangement can provide useful context alongside drawings and specifications.
The objective is to identify whether the problem belongs to wavelength selection, optical delivery, process timing, material chemistry, or a combination of factors.
Can You Replace 365nm With 385nm or 395nm?
A wavelength change should not be treated as a direct electrical substitution.
Use a Material, Optical, Electrical, and Process Compatibility Checklist
Start with material compatibility: does the photoinitiator absorb the replacement wavelength, and does the formulation supplier support it?
Then check optical performance. The replacement must deliver suitable irradiance and uniformity at the existing working distance and curing area.
Electrical and thermal requirements should also be reviewed, including voltage, current, driver conditions, module dimensions, and cooling.
Finally, validate the production process. Line speed, exposure time, adhesion, surface condition, and cure completeness may need to be requalified.
If several of these variables change, the project is closer to a process redesign than a simple lamp replacement.
How OEM Buyers Should Specify a UV LED Curing Module
Once the material and wavelength direction are established, the RFQ should describe the process rather than asking only for “365nm” or “395nm.”
What to Include in a UV LED Curing RFQ
Useful inputs include:
- Material, ink, adhesive, coating, or resin model
- Recommended wavelength or acceptable wavelength range
- Curing area and geometry
- Working distance
- Line speed or exposure time
- Required irradiance or dose, if known
- Material or coating thickness
- Input electrical requirements
- Available module dimensions
- Cooling constraints
- Existing UV LEDfor replacement projects
- Prototype and expected production quantity
This gives the supplier a much stronger basis for identifying a suitable module configuration.
What to Check When Comparing UV LED Suppliers
A supplier should be able to discuss wavelength together with material requirements, optical delivery, module geometry, electrical conditions, and thermal constraints.
IHYLIGHT publicly offers UV COB LED products covering industrial curing wavelengths and applications such as printing and adhesive curing. When evaluating IHYLIGHT or another source, purchasing teams should compare the proposed light source against the actual production requirement rather than relying on a wavelength label or headline electrical rating.
Conclusion
Choosing the UV curing wavelength depends on how LED spectral output, photoinitiator chemistry, material thickness, irradiance, total dose, standoff distance and line speed all interact. Even though a 365 nm, 385 nm or 395 nm UV LED can work well when matched to the formulation and line settings one should not pick a UV curing wavelength just because it is the usual option, for a particular system.
For OEM curing equipment or replacement projects, IHYLIGHT can be evaluated using the same material first process. Buyers can talk about a UV LED curing project by sharing the material or the formula the UV LED they are using, drawings, the size that is available the distance they need to work at the speed of the line the electrical conditions the cooling they need the number they want to make details, about how it will be used, samples or pictures of a problem they are having with curing.
FAQs
Is 365nm or 395nm better for UV curing?
Neither wavelength is universally better. The correct choice depends on the material’s photoinitiator absorption, required irradiance and dose, working distance, thickness, and production conditions.
What is 385nm UV LED curing used for?
385nm is one of several UVA wavelength options used in industrial curing. It should be evaluated when the material formulation and process respond appropriately to that spectral range.
Can 395nm cure UV adhesive?
It can cure adhesives formulated to respond to that wavelength, but the adhesive specification, bond line thickness, substrate transmission, dose, and process conditions should be verified before production.
Why is my UV adhesive still sticky after curing?
Possible causes include wavelength mismatch, insufficient dose, excessive working distance, short exposure time, poor irradiance uniformity, material thickness, or formulation related effects. Increasing lamp power should not be the first corrective action without diagnosis.
Can I replace a 365nm UV curing lamp with 395nm?
Possibly, but the material, optical system, electrical requirements, thermal conditions, and production process should be rechecked. A wavelength change may require process validation rather than a direct component substitution.